
The finish of a 3D printed figure can be the difference between a piece that goes unnoticed and one that someone wants to collect. Choosing between varnish, hand painting, lamination, or modular techniques is not trivial: each option affects durability, visual detail, and the final project cost. If you are looking for finished 3D printed figure examples to serve as real references, this guide gathers the most relevant, from classic finishes to the most advanced methods, with clear criteria so you can make decisions with confidence.
Table of contents
- Key points
- 1. Key criteria for evaluating finishes on 3D printed figures
- 2. Classic finishes: varnishing, hand painting, and lamination
- 3. Innovative examples: modular, articulated figures and selective smoothing
- 4. Comparison of techniques by material and scale
- 5. Practical recommendations for choosing and applying finishes
- My perspective on finishing as part of the creative project
- Discover printed figures with quality finishes at Reimii
- FAQ
Key points
| Point | Details |
|---|---|
| The finish defines perceived value | A well-applied varnish or paint transforms a printed figure into a piece with a professional look. |
| Choose technique according to material | Resin, PLA, and cardboard require different finishes; using the wrong one can damage the piece or fail to adhere. |
| Selective smoothing saves time | Applying ironing only on flat surfaces avoids increasing time without improving organic figures. |
| Modular figures simplify post-processing | Designing in parts reduces supports and allows for more precise localized finishing. |
| Budget determines the method | Acrylic varnish is economical and versatile; resin with hand painting offers greater detail but at a higher cost. |
1. Key criteria for evaluating finishes on 3D printed figures
Before looking at specific examples, it is important to be clear about the criteria for judging a finish. Not all projects seek the same results, and confusing objectives leads to disappointing outcomes.
The most relevant criteria are:
- Durability: Will the figure be exposed to light, humidity, or frequent handling? A UV varnish or lamination protects better than paint alone.
- Surface detail level: Resin figures allow for details in tenths of a millimeter; PLA figures have visible layer lines that the finish can either hide or highlight.
- Functionality: If the figure has articulated or modular parts, the finish cannot block joints or add excessive thickness.
- Material compatibility: Not all varnishes adhere equally to resin, PLA, or ABS. Testing on a discard piece before applying to the final figure is a common practice among experienced makers.
- Budget and time: Well-managed post-processing should balance visual quality and time invested to avoid processes that do not provide visible improvement.
Professional tip: Before choosing a finish, define the final use of the figure. A piece for display in a showcase does not need the same durability as a tabletop game figure that is handled every week.
2. Classic finishes: varnishing, hand painting, and lamination
These three methods are the most documented and offer the most predictable results. They are the starting point for any project with finished printed figures.
UV varnish and acrylic varnish
Varnish is the most direct finish. It protects the surface, unifies the gloss, and can be applied in thin layers without altering the detail. Acrylic varnish, UV varnish, and laminates in glossy or matte versions are common techniques for professional finishes. UV varnish in particular cures in seconds under a lamp and offers superior hardness, making it ideal for collectible figures that are not frequently handled.
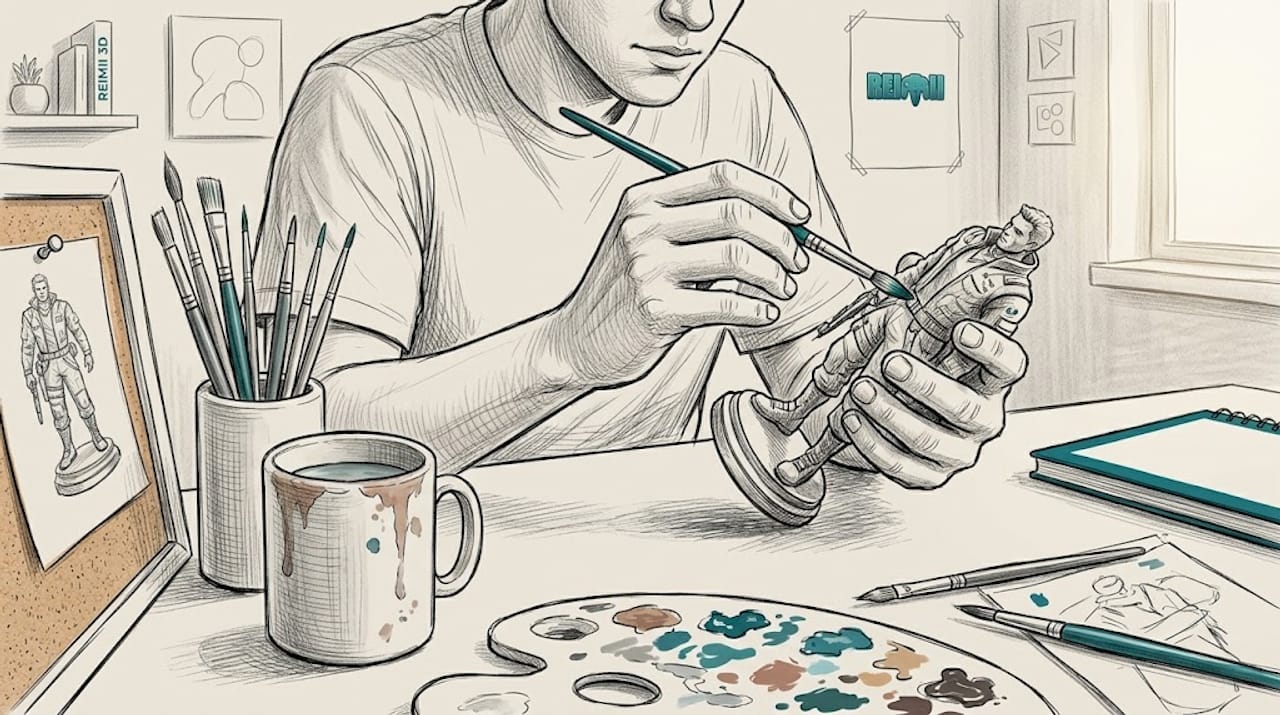
Hand painting on resin figures
Resin figures are the ideal support for hand painting. Their smooth surface and ability to capture fine details allow working with very thin brushes. A good example is the custom 120 mm chibi figures with hand painting, designed for collectors and personalized gifts. This type of finish turns a technical print into a handcrafted piece with its own character.
Lamination as a protective finish
Lamination is used more on flat or cardboard figures than on complex three-dimensional pieces, but it has its place in large-format projects. The final finish with varnishing and lamination protects and enhances the professional perception of printed pieces, especially when combined with UV digital printing.
The advantages and limitations of each classic technique are summarized as follows:
- Varnish: fast, economical, versatile. Limited on very porous textures without prior priming.
- Hand painting: maximum customization and realism. Requires skill and time; not scalable for high production.
- Lamination: excellent physical and visual protection. More suitable for flat surfaces than for complex geometries.
3. Innovative examples: modular, articulated figures and selective smoothing
Finishes do not start after printing. Many of the best finished printed figures owe their quality to the design prior to printing.
Articulated and Modular Figures
Modular figures with snap joints avoid difficult supports and allow localized finishes on each piece before assembly. This is a real advantage: painting or varnishing individual pieces is much easier than working on an assembled figure with hard-to-reach angles. A clear example is LEGO-style Santa Claus and reindeer figures, which are printed in parts and assembled without complex adhesives or mandatory painting.
Modularity also opens possibilities for collecting. Changing a colored piece or replacing a component without remaking the entire figure is something collectors especially value.
Selective smoothing (ironing)
Software smoothing is a slicer function that passes the extruder over the top layer to smooth the surface. It works very well on flat surfaces, but smoothing round models increases printing times without improving the visual finish. For organic figures, optimizing print orientation gives better results than applying ironing generally.
Professional tip: Activate smoothing only on the top layers of bases, stands, or flat surfaces of the figure. On the main body of characters or curved shapes, deactivate it to avoid wasting time without real benefit.
Multicolor printing and snap-fit assembly
Multicolor printing projects allow complex visual finishes without the need for painting. Using filaments of different colors by segments or with multimaterial printers, figures with chromatic details can be created directly from the file. The post-processing is limited to a protective varnish, which reduces the total project time.
4. Comparison of techniques by material and scale
The choice of finish depends on both the material and the size of the figure. This table summarizes the most common combinations:
| Material | Recommended technique | Main advantage | Limitation |
|---|---|---|---|
| Resin | Hand painting + UV varnish | Maximum detail and customization | High cost, small runs (1-50 units) |
| PLA | Primer + acrylic paint | Economical and accessible | Visible layer lines without prior sanding |
| Custom cardboard | Glossy or matte lamination + UV varnish | Dimensions up to 147 x 198 cm and fast production | Less three-dimensional detail |
| ABS | Smoothing with acetone + varnish | Very smooth surface without sanding | Requires ventilation and caution |
Professional tip: For prototypes or temporary-use figures, acrylic spray varnish is sufficient and very fast. For collectible or gift pieces, invest in priming, thin-layer painting, and quality final varnish.
Resin figures are favorites for high-end collecting due to their detail capability. PLA figures are more accessible for personal projects and decoration. Custom cardboard has its niche in large-format figures for events, displays, or promotions.
5. Practical recommendations for choosing and applying finishes
There is no single answer here. The best finish is the one that fits your goal, budget, and experience level.
- Define the final use before starting. A figure for role-playing games needs to be touch-resistant. A decorative figure can prioritize visual appearance. Mixing undefined goals leads to compromises that satisfy neither.
- If you’re a beginner, start with spray varnish. It’s the easiest method to control, gives even results, and doesn’t require painting skills. Apply in thin layers and let each layer dry completely before the next.
- For custom collections, hand painting makes the difference. Custom figures made from photos optimized for resin reach an artisanal level of detail that no automatic finish can match.
- Don’t skip the priming step. Especially on PLA, priming improves adhesion of any subsequent finish and hides layer lines. Without it, paint can peel over time.
- Respect curing times. Applying varnish before the previous layer is dry can cause bubbles or a cloudy finish. Patience in post-processing is as much part of the process as printing itself.
- Evaluate if the finish adds real value. As experience with smoothing shows, optimizing orientation and design is more effective than applying unnecessary post-processing techniques. Not every project needs the most elaborate finish.
My perspective on finishing as part of the creative project
I have seen many printed figure projects where the creator spends weeks on design and printing, then applies the finish in an afternoon without much thought. The result is always disappointing. Not because finishing is difficult, but because it wasn’t planned from the start.
What working with printed figures has taught me the most is that finishing is not the last step. It is a decision that starts when you choose the material, the print orientation, and the model's level of detail. A resin figure with hand painting can look like it came from a specialty store. The same figure without finishing looks like a prototype.
The most common mistake I see is applying too many techniques at once thinking more is better. Varnish over uncured paint, lamination on uneven surfaces, smoothing on organic figures where it adds nothing. Each technique has its context. Using them well requires understanding their purpose, not accumulating them.
My recommendation for beginners: choose one technique, apply it well on three or four figures, then add another. Consistency in finishing is what distinguishes an amateur collection from one that looks professional.
— Marina
Discover printed figures with quality finishes at Reimii
If you are looking for direct inspiration or want to explore personalized printed figures with careful finishes, Reimii has exactly what you need. Every piece in the catalog combines detailed design with selected materials for collectors and players who don’t settle for generic.
From role-playing game figures to modular accessories, the Reimii catalog offers products where the finish is not a secondary detail but part of the design. If you are interested in game-oriented pieces, the gaming collection includes options designed for those who value both functionality and aesthetics. Reimii also considers that personalized figures are gifts with real value for the recipient.
FAQ
What finish is best for resin printed figures?
The combination of hand-applied acrylic paint and UV varnish is the most recommended for resin figures. It offers maximum detail, customization, and long-lasting protection.
Does smoothing (ironing) improve all printed figures?
No. Smoothing works well on flat surfaces but does not improve organic or rounded figures. In those cases, optimizing the print orientation gives better results without increasing time.
How many varnish coats does a printed figure need?
Generally, two or three thin coats are enough. Each coat must be completely dry before applying the next to avoid bubbles or a cloudy finish.
What is the difference between resin and PLA figures for finishing?
Resin figures capture more detail and allow direct painting with minimal preparation. PLA figures require priming beforehand to hide layer lines and improve finish adhesion.
Are modular figures easier to finish?
Yes. By working piece by piece before assembly, each surface is better accessed and more precise finishes are applied. This reduces errors and improves the final result.
0 comments